Underwater Cameras for Beginners: From Compacts to Mirrorless
· Dicky
Shooting underwater is one of the best ways to enjoy Indonesia's seas and document its incredible fish diversity. But for beginners, choosing an underwater camera can be confusing: action cams, compacts, mirrorless, housings, strobes, wet lenses... where do you start?
The good news: you don't need the most expensive gear to get started. What matters is understanding the strengths and limits of each option, then choosing what fits your goals and budget.
Any camera can be a good start
Before comparing specs, decide what you want to shoot:
Casual documentation on dive trips?
Fish and small critters (macro) in sharp detail?
Wide scenes such as reefs, mantas or schooling fish?
For photographing fish, especially when the photo needs to be identifiable, macro capability and lighting matter far more than megapixels.
Underwater camera options for beginners
1. Action cam or smartphone + housing
Pros: affordable, compact, easy to use, great for wide-angle video in bright, shallow water. Cons: weak at macro, soft in low light, and colours fade quickly at depth. Make sure any smartphone housing is rated deep enough for your dives. Best for: snorkelling, casual documentation, video.
2. Compact camera + housing
Pros: the best balance of price, size and quality. Many compacts (such as rugged models with a dedicated macro mode, or 1-inch-sensor compacts) excel at macro, shoot RAW, and can be expanded later with wet lenses and strobes. Cons: autofocus and low-light image quality still trail larger-sensor cameras. Best for: most beginners who are serious about photographing fish.
3. Mirrorless or DSLR + housing
Pros: the best image quality, fast autofocus and interchangeable lenses (true macro, fisheye). Cons: expensive (the housing often costs as much as the camera), heavy, and it needs more practice and maintenance. Best for: divers committed to underwater photography for the long term.
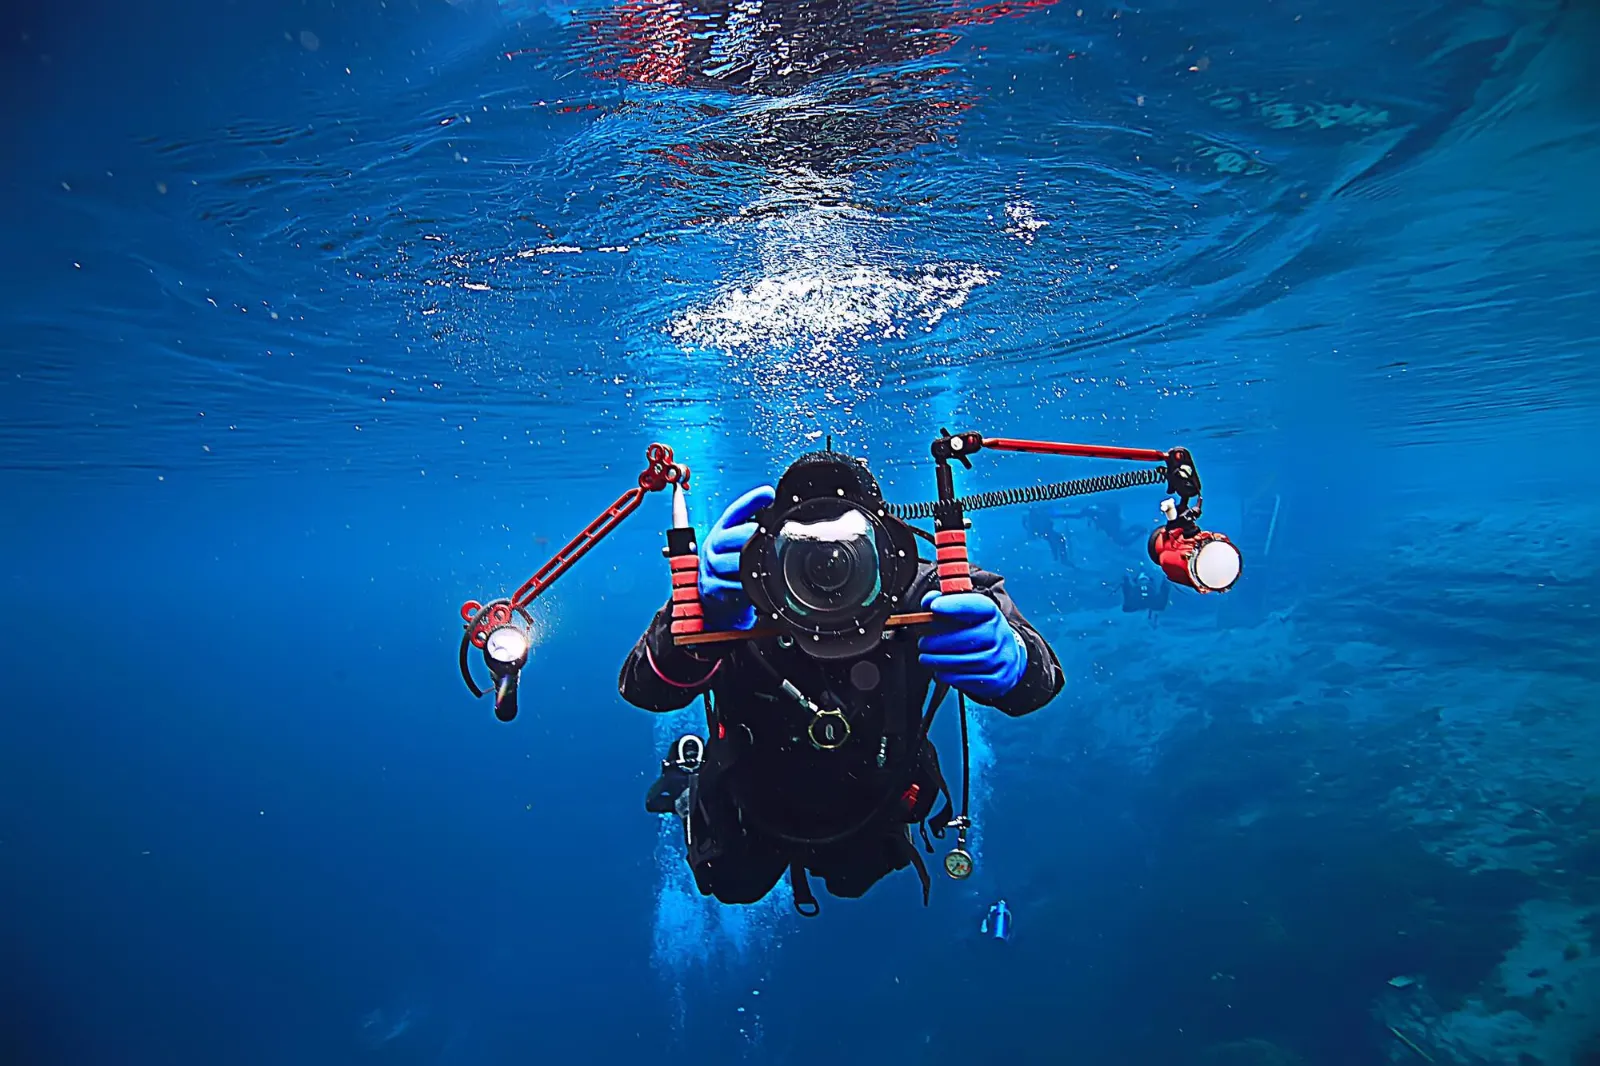
General recommendation: To start photographing fish, a compact + housing + one light source is the most balanced setup. You can upgrade step by step without replacing everything.
The accessories that matter most
Strobe or video light
This is the most important upgrade after the camera itself. Water absorbs red and orange quickly; artificial light restores true colour and brings out the fish's details.
Strobe: a short, powerful burst that freezes motion, ideal for stills.
Video light: continuous light that helps focusing and suits video, but is usually less powerful for stills at a distance.
Wet lenses
Lenses mounted outside the housing that can be swapped underwater:
Wet macro / diopter: magnifies small subjects such as nudibranchs or gobies.
Wet wide: widens the field of view for reefs and large animals.
Tray and arms
Stabilise the camera and let you position lights away from the lens to reduce backscatter.
Small essentials people forget
Spare batteries, spare memory cards, a lanyard and a lens cap.
Basic settings for beginners
Shoot RAW (if supported) for more room to correct colour and exposure.
White balance: use the underwater mode or set it manually when you're not using artificial light.
Macro: a fairly narrow aperture (e.g. f/8–f/11) for enough depth of field, a fast shutter to freeze motion, and the strobe as your main light.
Wide angle: a wider aperture, watch the sun's direction, and balance ambient light with your strobes.
ISO: keep it low to limit noise and raise it only when you really need to.
Focus: use a single focus point and place it on the fish's eye.
Caring for your camera and housing
A flooded housing is every underwater photographer's nightmare. Make these a habit:
Inspect the o-rings before every dive: free of sand and hair, no cracks, and lightly greased as the manufacturer recommends.
Do a soak test (or use a vacuum leak detector if available) before going deep.
Rinse in fresh water after every dive, pressing every button while soaking to flush out salt.
Dry it before opening the housing, and never open it somewhere damp or exposed to spray.
Store it somewhere cool and dry, out of direct sunlight.
Summary: camera vs. needs
Need
Suggested setup
Cost range
Snorkeling & casual documentation
Action cam / smartphone + housing
Low
Getting serious about fish & macro
Compact + housing + 1 strobe/video light
Medium
Maximum quality & lens flexibility
Mirrorless/DSLR + housing + 2 strobes
High
Ready to put your camera to the test?
The best camera is the one you take diving and know well. Once your gear is ready, challenge yourself at Fish ID Nusantara (FIN), an underwater photography competition that invites divers to photograph and document fish species at dive sites across Indonesia.
Learn How to Photograph Fish for Easy Identification
Read Competition Rules
Latest news: DXI 2027 Officially Begins
FAQ
Is a phone in a housing enough to photograph fish? It's enough for casual documentation in bright, shallow water. For small fish detail and depths beyond a few metres, a compact in a housing with artificial light gives far better results.
What matters more: an expensive camera or a strobe? For beginners, adding a single strobe or video light usually improves image quality more than upgrading to a pricier camera.
How deep can a housing go? Every housing has its own depth rating. Always check the manufacturer's specifications and choose a rating that exceeds your maximum dive depth.